Building a Personal Highlights Tracker in Notion


Notion is a relatively new wiki tool that's been gaining a lot of traction lately, especially with task management geeks like myself.
You can think of it initially like a web-based wiki (with desktop & mobile apps), it has a hierarchy of pages you can fill with various bits of documentation.
What sets it apart from tools like Confluence & OneNote is how it allows you to build your own custom workflows, relatively easily, using it's lightweight database and views feature. I've found that I can combine whole sets of Trello boards / pages in Evernote using this streamlined functionality.
To demonstrate this, I'll build a way to track your personal highlights for the year using Notion.
Personal Highlights?
It's the time of year where many of us will reflect on what we've achieved over the last year, either in a personal capacity or as part of an end-of-year review at work.
Now 12 months is a significant amount of time, and it's all too easy to only focus on what we've achieved in the last few, forgetting things we did at the start of the year.
One thing I recommend everyone does it make yourselves a "Personal Highlights" folder, whether it be something in OneDrive, a page in Evernote or even just a notebook on your desk.
Every time you do something your proud of, achieve something or get good feedback, throw it into that folder with the date it happened. Some examples:
- Helped someone out at work, they sent you a nice message as thanks. Screenshot it and throw it in the folder
- Attended an event and found it really valuable, ended up learning a lot. Jot down some things you learned and throw it in the folder
- Gave a presentation that was well received
- Wrote some code you're really happy with
- Lost 5 pounds after a successful diet
- Gave up drinking for the whole of January
And so on. If you do this every time you achieve something that makes you smile, not matter how small, you'll soon end up with a folder packed full of things you can be proud of.
The folder then becomes useful on two fronts:
- When you get to any end-of-year reviews at work, you've got a big list of things you've can talk about
- If you've had a rough day, you've got a space where you can see the positive things you've done that year
Setting Up The Tracker
Now we understand what "Personal Highlights" are, let's set up a way we can track them over the year. Before I talked about having a folder / page / notebook, here we'll build the same thing using Notion.
Firstly, you'll need to get yourself an account, head on over to https://www.notion.so and sign up. It's got a generous free tier you can use to get started.
Next we'll actually build the tracker below:
Step 1: Setting up the table
Let's create a new page called Personal Highlights Tracker
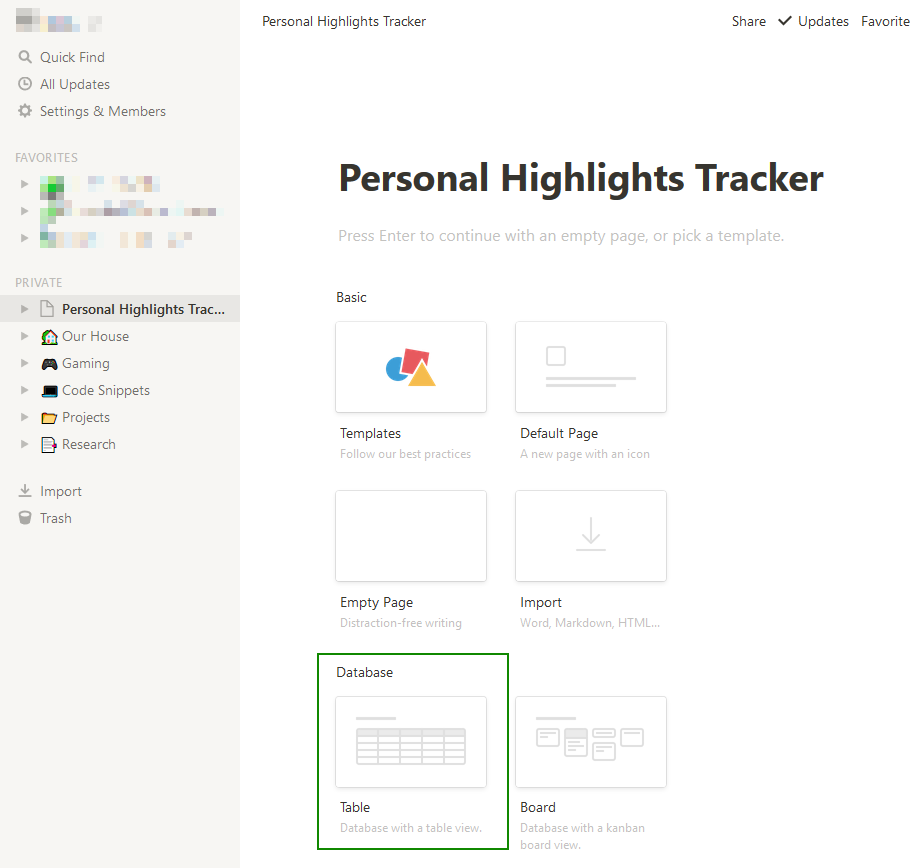
When you do this, a list of options will appear below letting you select different template pages. Click on the "Table" option under "Database".
This creates a default table like the one below:
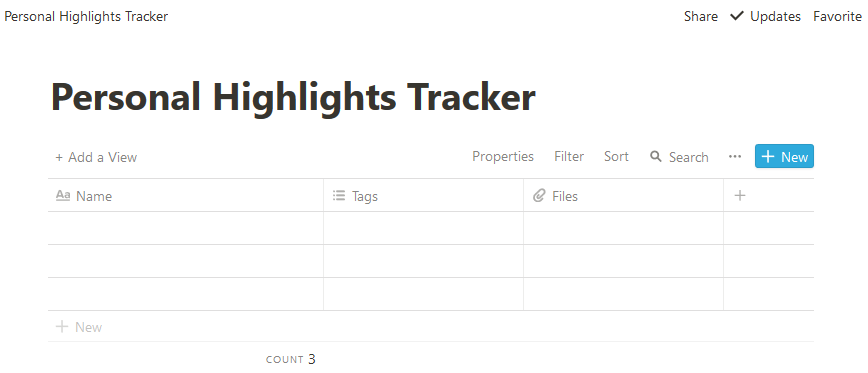
Thankfully, this is pretty close to what we'll want anyway, we just need to make a few adjustments:
- Click on the "Name" row title, rename it to "Highlight",
- Click again on the "Highlight" row title and select "Insert Left"
- Click on the newly generated "Property 1" column and renamed it to "Date". Then under "Property Type" change it from "Text" to "Date" type
- Click on the "Files" row title and click "Delete Property"
- Click on the "Tags" row title and select "Insert Left"
- Click on the newly generated "Property 1" column and renamed it to "Category". Then under "Property Type" change it from "Text" to "Select" type
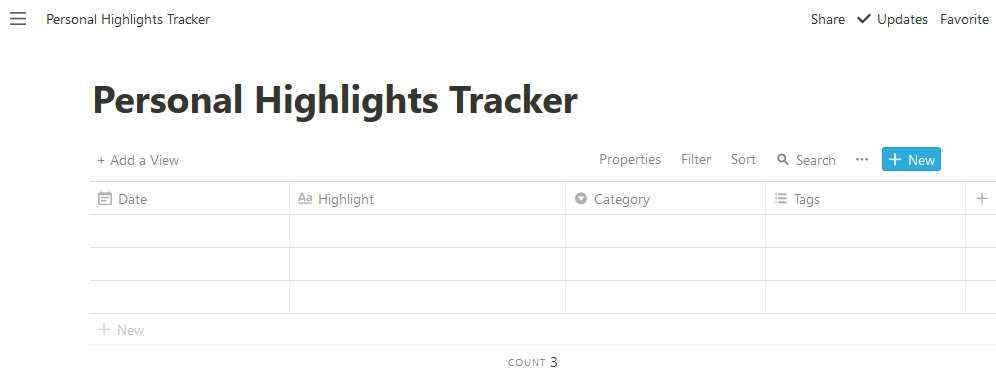
Your table should now look like this:
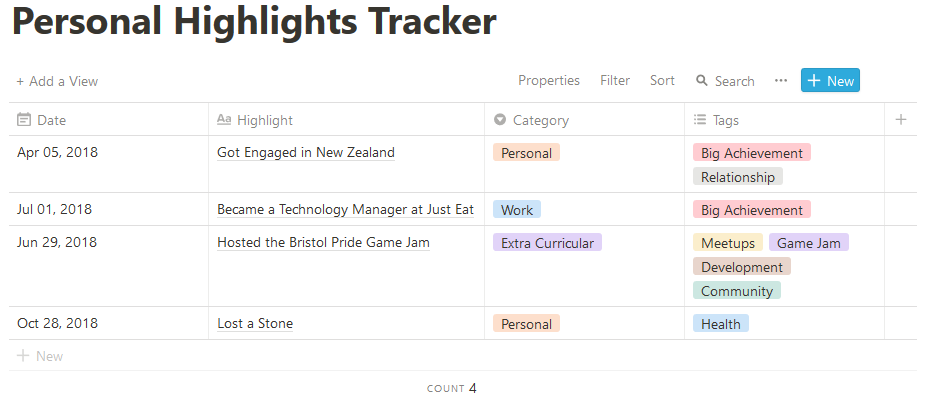
Step 2: Filling some values
Now we've got a basic tracker, let's fill in some achievements. Below I've put in some sample ones I'm proud of, fill in your own for the next section.
As your filling it in, you can create your own Categories and Tags as you go, to help organise your acheivements. I've put in some sample ones for the next section.
Step 3: Card view
OK, so far what we've got feels a lot like an Excel spreadsheet right? The tags thing is cool but it's not doing much that you can't do in Google Docs quickly.
Now we're going to start looking at what makes Notion truly unique.
Let's say I want to add more detail to one of the highlights, maybe attach a few quotes, or a picture / screenshot.
To do this, hover over one of your highlight titles and click the "Open" button that appears, this ones up the Card View
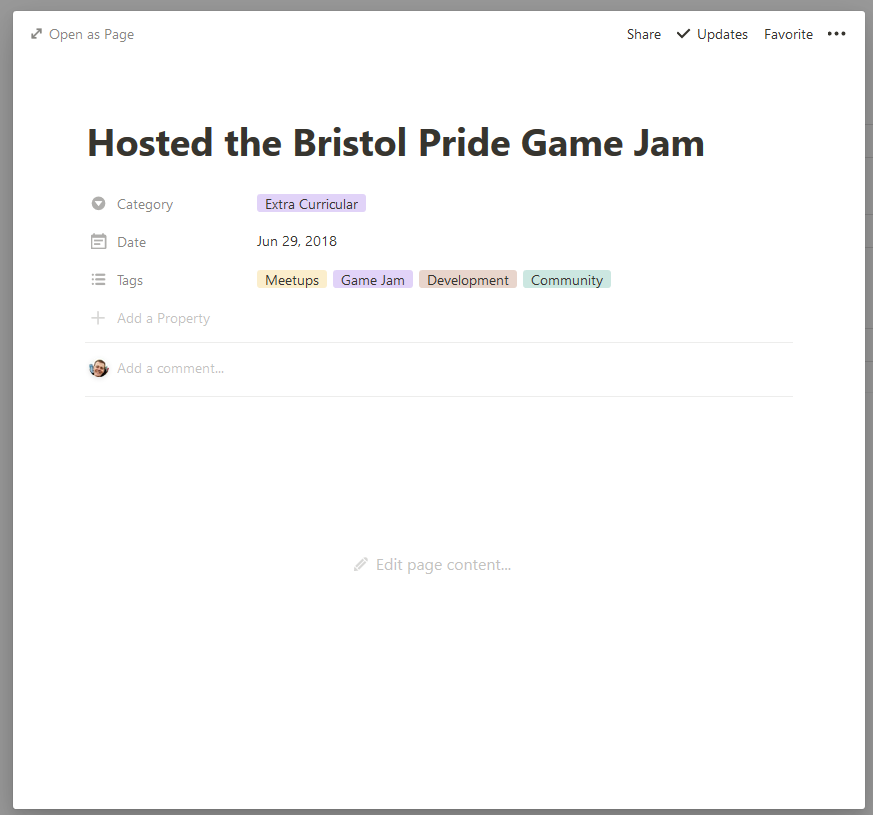
You see, every row is also a page in the wiki, so you can add to it like it was a normal page. Now we can go a bit crazy and fill in some notes by clicking "Edit page content..."
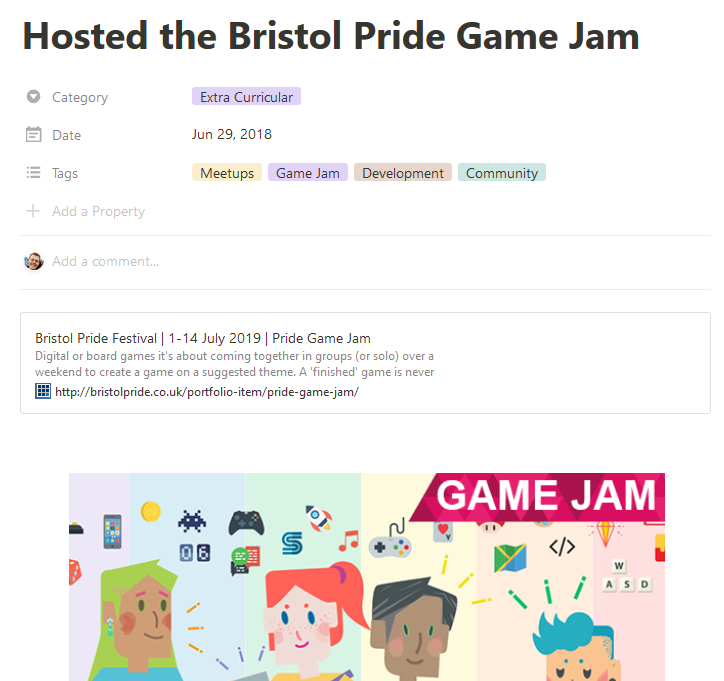
When you return to the view, the page you've added notes to will have a little document icon next to it, making it clear which have some embedded content attached.
Step 4: List View
So we can create a set of cards, and fill them with details, groovy. Now let's make this more useful for end-of-year reviews.
Let's say I want to filter all my achievements to those in the "Work" activities that were achieved in 2018, sorted by the date they were achieved.
Firstly, click "+ Add a View" above the table and select the "List" view. Give it a name at the top of "2018 Work Achievements", then click Create.
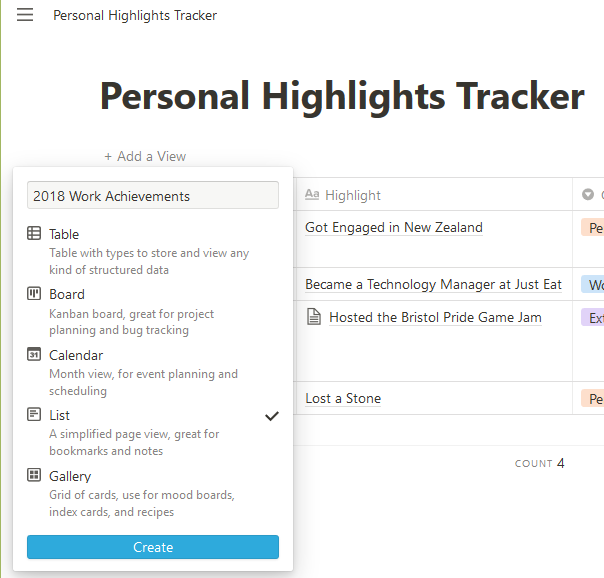
You'll be presented with this view:
Next, let's apply our filters so it's specific to our work achievements:
- Click "Filter" then "+ Add a Filter"
- Change the field to "Category" -> "Is" -> "Work"
- Then click "+ Add a Filter" again
- Change the new filter to "And" -> "Date" -> "Is Before" -> "Exact Date" -> "Jan 01, 2019"
- Then click "+ Add a Filter" again
- Change the new filter to "And" -> "Date" -> "Is On or After" -> "Exact Date" -> "Jan 01, 2018"
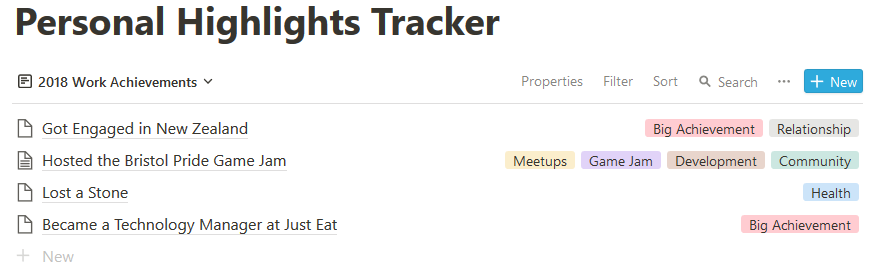
Now we've got a list of all Work achievements from 2018.
Finally we'll tweak the view a little to be more useful.
- Click "Properties" and select the "Date" property, so it appears in the list
- Click "Sort" -> "Add a Sort" -> "Date" -> "Ascending"
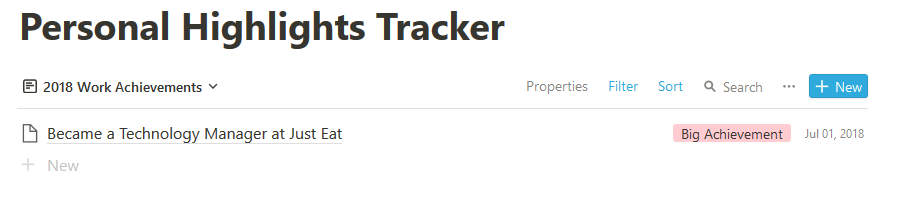
This now gives us a clear overview of the year, if we add any more items in the database list, they will automatically appear in the view if they match the criteria.
Step 5: Board View
The last view we'll build is to see each item categorised by tag in a Kanban style
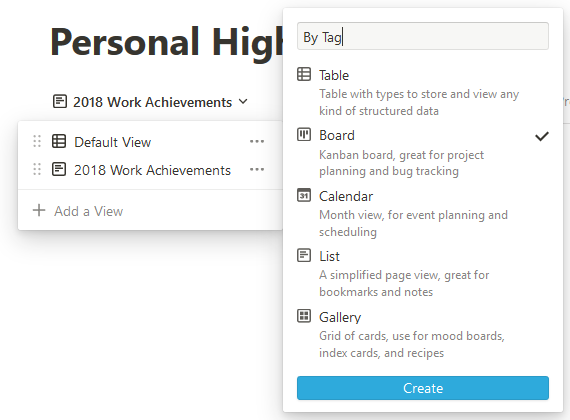
Click the "2018 Work Achievements" dropdown to see all views, then click "+ Add a View" and select the "Board" view. Give it a name at the top of "By Tag", then click Create.
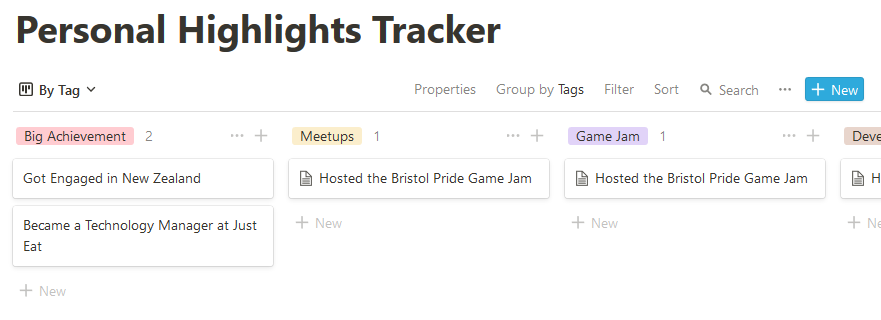
On the new board:
- Change "Group by" to "Tags"
- Click on the "..." next to the "No Tags" column and click "Hide"
You'll now have a view of all cards by each Tag, with them duplicated if they appear in multiple tags:
Wrapping Up
We've now got a nice way of tracking & filtering all our highlights for then year, with the bonus being it's on a web ui that's also accessible using and Android & iOs app.
A few things to note that may help you write your own workflows with Notion:
1 - You can lock a database by clicking the "..." on the far top right of the screen and clicking "Database Lock"; this stops you accidentally adding new categories, tags or modifying the columns. You can unlock if from the same menu if you want to make changes to the structure
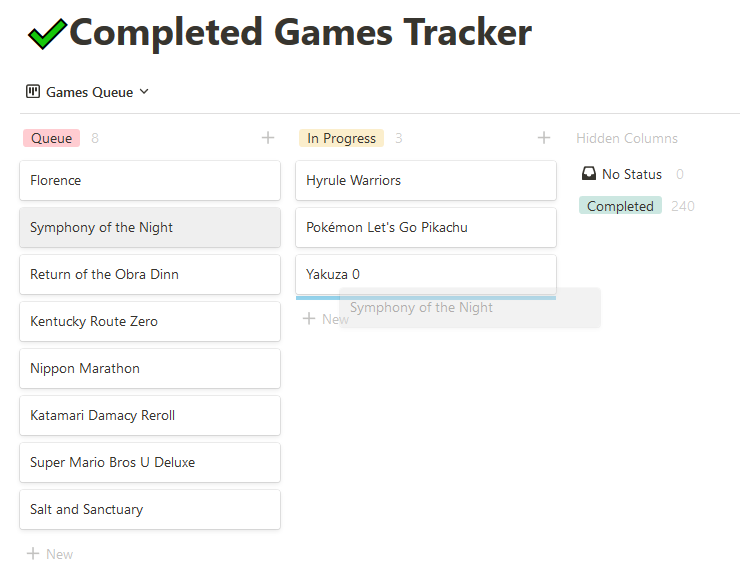
2 - The board view is interactive, you can drag and drop cards between states, this can be useful for setting up you own workflows (e.g: Not Started, Doing, Done), below is an example from my Games Tracker:
I hope you found this article useful, if you've got any comments or suggestions please feel free to tweet to me at: @LukeAMerrett